If you have ever wanted a macaron recipe for what I consider to be “as fool-proof as is possible*”, I hope you find that this is the place to be!
*DISCLAIMER:
Obviously no recipe can be fool-proof as there are too many variables at any one time. While some of these variables cannot be easily controlled by us as home cooks, there are many variables that can be. These include reading a recipe fully, accuracy of weighing, being prepared to practice a recipe several times to get a real feel for it, not changing too many things in a recipe until you are comfortable with it……
Sections in this post:
- A challenging but rewarding bake
- Top Tips for successful macarons
- About the recipe
- The basic recipe for macarons (with detailed notes at each stage).
- A few FAQs – includes how to get the right temperature for your oven and how to judge the amount of mixing
- Some of my favourite flavours (including savoury macarons)
- Storage

About 20 years ago I was on a quest to crack macarons. This initially involved working through scores of recipes (with variable success!). I ended up experimenting with elements of the recipes that seemed to work and adapting from there.
I have been making macarons using my recipe below for several years now, including when I give macaron lessons. When using this recipe, it is very rare to get a disappointing macaron from my students, so I genuinely swear by this recipe.

A challenging but rewarding bake
Making a good macaron – which includes the “feet”, not being hollow and with a smooth surface – is certainly a challenge if you have never made them before. There are many things that can go wrong but I hope my tips and guidelines at each stage will help.
I would say, though that one of the key things to success – and this is with any dish – is being prepared to make it several times to get a real feel for the process: everything becomes much easier, you become more intuitive and you can more readily prevent issues.
And the feeling of achieving a good macaron is exhilarating.


Top Tips for successful macarons:
Top Tip 1: base the amount of ingredients on the egg whites
Start by weighing the egg whites; the amount of the other ingredients is then based on this. A digital scale is essential for the precision needed for macarons.
You can use egg whites that are near their “use by” date or fresher ones. It actually does not matter as they will still whip up and be stable enough for macarons. Just make sure they are at room temperature as they foam up quicker.
Whatever the weight of egg whites is used:
- caster sugar: use the same weight as the egg whites
- ground almonds: use 1¼ times the weight of the egg whites
- icing sugar: use 1¼ times the weight of the egg whites
So for 40g egg whites, use 40g caster sugar, 50g ground almonds and 50g icing sugar.
NB: as a general guide, using 40g egg whites gives about 30 small macaron shells
Top Tip 2: used ready-ground almonds
Using ready ground almonds is easiest: if you use whole almonds when you blitz them in the food processor they can get over-worked, as the oils in the almonds start to get released. This can affect the macaron texture and appearance significantly.
Note: if you want to use other nuts which don’t come ready-ground, such as walnuts or pistachios, just use around half the almond requirement of those nuts, and blitz only in brief bursts to stop the natural oils coming out.

Top Tip 3: blitz the icing sugar and ground almonds in advance (the “tant pour tant“)
For the smoothest macarons, blitz the icing sugar and ground almonds together to a fine powder: pulsing a few seconds at a time to avoid the oils in the nuts from being released. This is sometimes referred to as the tant pour tant.

Every now and then I make up a large batch of tant pour tant (500g or so each of ground almonds and icing sugar) and simply store this fine powder in an airtight container in a cupboard. I then have a speedy macaron mix, needing me only to add the meringue (which only takes minutes to make).
When I want to use this powder to make macarons, whatever the amount of egg whites I have, I just weigh out 2½ times this weight to get the amount of this almond/icing sugar powder (see Top Tip 1 above).
So if I have 40g of egg whites, I use 40g of caster sugar and then 100g of the almond/icing sugar mixture
Top Tip 4: when making the meringue, take it to soft peaks or just beyond
For me, I take the meringue to the point where it forms ribbons that hold their shape. It wobbles on the whisk, hanging there like icicles without dropping back into the bowl. In addition, if you trail the whisk into the meringue and make a pattern, the pattern stays there and does not vanish back into the meringue.
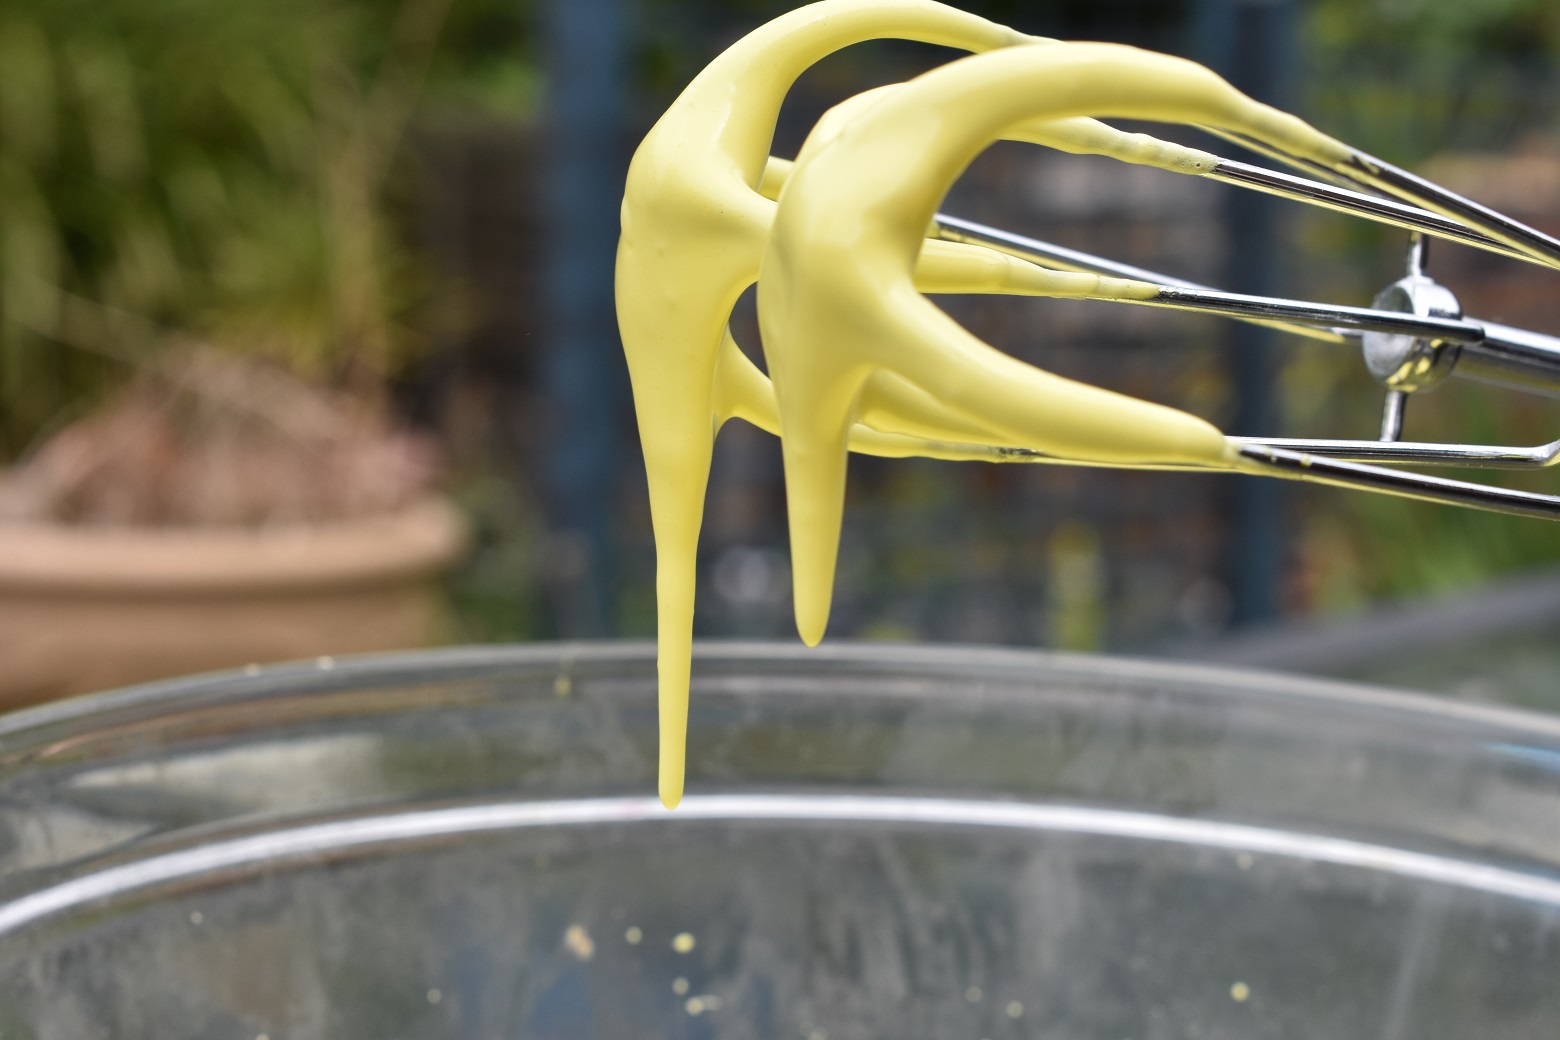
This will help prevent cracked macarons or hollow macarons.
Some folk swear by going to very stiff peaks: personally, though, I stick to soft peaks.
Top Tip 5: for uniform sized macarons, the wide end of the piping nozzle is very handy!
Once the mixture has been made, you can dip the wide end of the piping nozzle into the mixture and dab it over the baking mats, so you effectively have many circle outlines where the macarons will go.
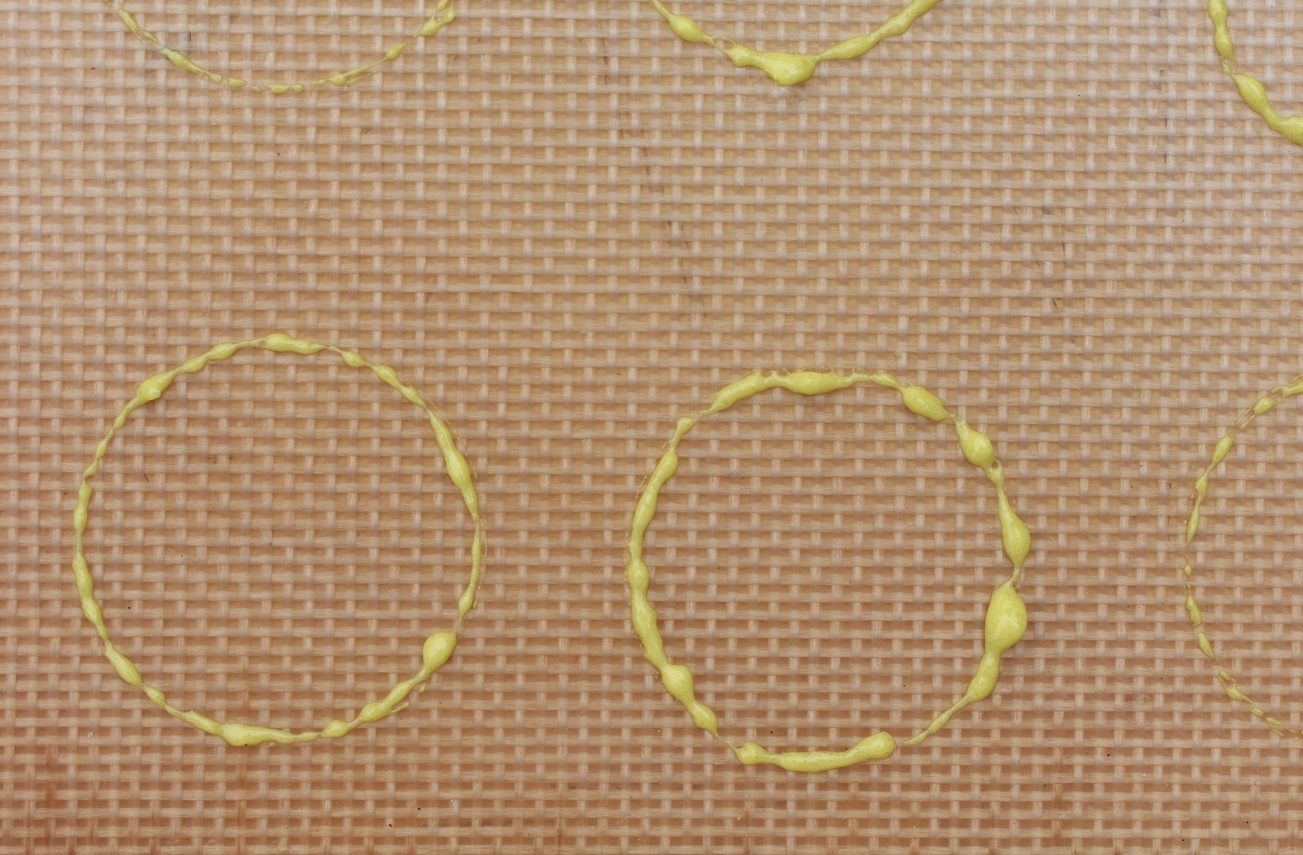
You then pipe into the centre of these, going just to the rim.
Top Tip 6: rest the macarons once piped
Resting ensures you get the much-prized “feet”.
Once the macarons have been piped, leave them uncovered on the work surface for about a hour: the air will dry out the surface of the macarons giving a thin skin. If you gently touch one and it no longer feels sticky, the batch is ready to bake.

The skin formed with the resting acts as a protective layer for the macarons as they bake: the heat of the oven causes the macaron to push upwards a little, while the skin firms up quickly in the heat, giving a barrier on top of the macaron, preventing it from rising too much further. As a result, the foot is created.
Top Tip 7: cook at a low temperature & use a few tester macarons
Each time I make a batch of macarons I do a couple of “testers” to check the oven is at the right temperature and the macarons have rested enough. This is particularly useful if using a new or unfamiliar oven!
Once you have piped the macarons, pipe a small macaron onto a few smaller trays (or the base of cake tins) and let these testers rest along with the main batch. Once the surface is no longer sticky, place one of the testers in the centre of the oven at 140°C (fan assisted) and see what is happening to it after about 6 minutes:
– if the feet have started to form and it is smooth on top then it will continue to bake perfectly – and this is the right temperature for your oven and for the rest of the batch.
– if it has cracked or there are no feet, place the next tester in to the oven at 130°C and check its progress after 6 minutes. You can even try one at 150°C.
Once you have ascertained the best temperature for your oven, stick to that and place the main batch on the oven at that temperature.

The recipe below
The recipe below is my combination of the different approaches that are out there. But most importantly for my sanity, it works 100% of the time for me – and in a world with so many uncertainties, it is nice, once in a while, to have a certainty!
I have given detailed notes and pictures at every stage, along with a few FAQs.
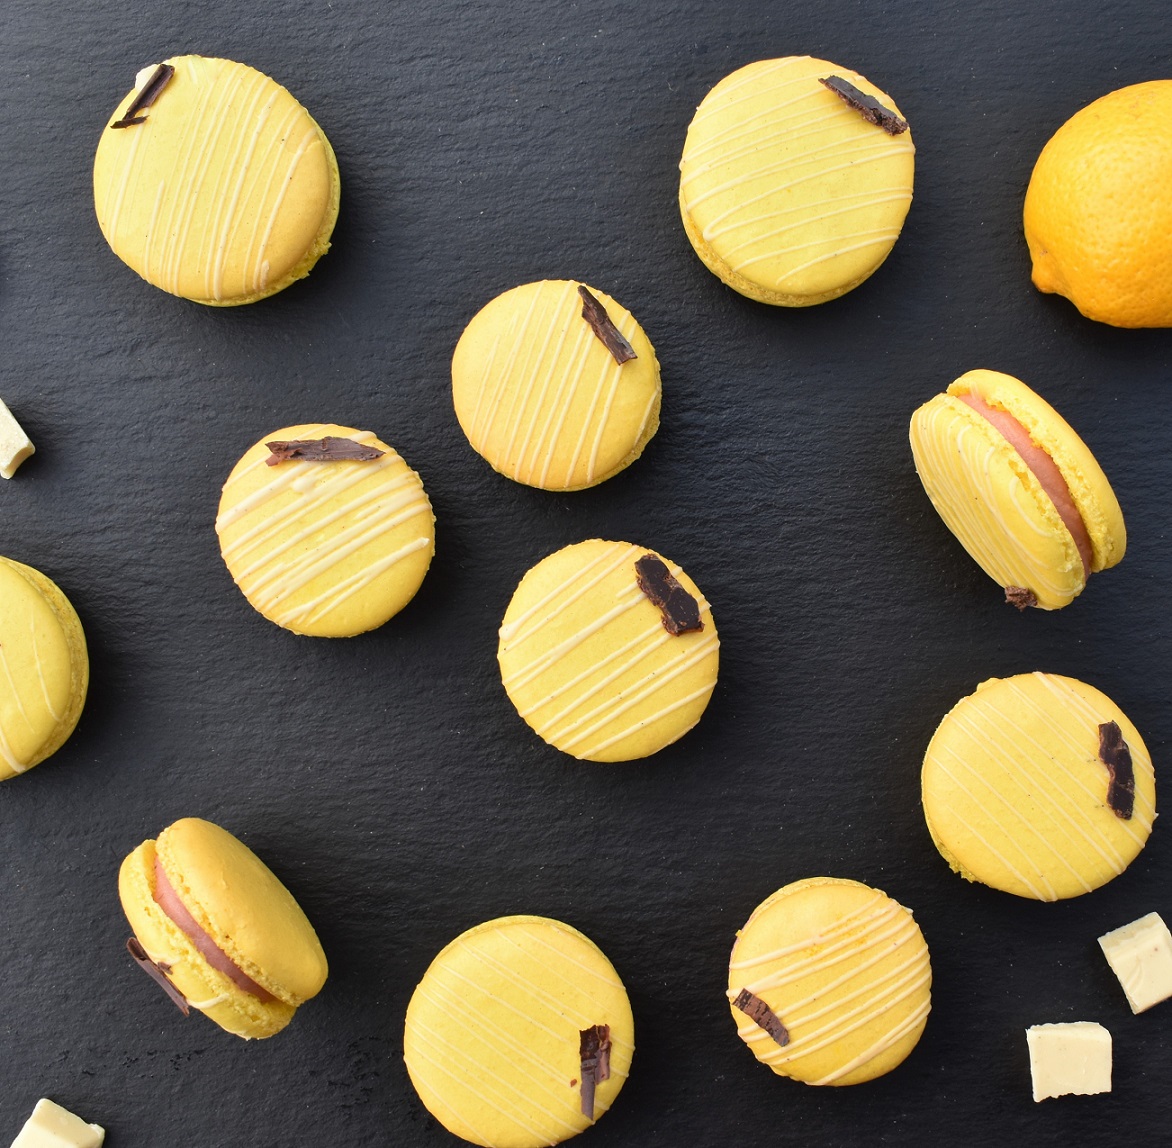
The pictures in the recipe itself are from a batch of lemon macarons I made, but the flavour combinations are endless and the recipe is easily adapted to accommodate whatever flavour you want.

Standard recipe for macarons: makes about 35 filled macarons (70 macaron shells)
Shells:
- 125g ground almonds
- 125g icing sugar
- 100g caster sugar
- 100g egg whites at room temperature
- about 1/4 teaspoon powdered food colouring (or a few drops of gel-based food colouring of choice)
A simple fruity filling:
- 120g white chocolate, melted
- 80g fruit purée, strained: use fresh or defrosted frozen fruits
- 100g lemon curd
NB: you can just use fruit curd and white chocolate, using about 200g curd and 120g chocolate. I also quite like using dark chocolate with fruit curd. Either way, you get a very tangy, fruity filling.
(1) Put the icing sugar and almonds into a food processor or liquidiser and pulse for about 10 seconds until perfectly uniform. Sift into a large bowl and re-blitz any lumps left in the sieve.
(2) In a clean, dry bowl whisk the egg whites with any food colouring for a few seconds until they go frothy.

(3) Add the caster sugar all at once and whisk for about 3-4 minutes or so, until you get a glossy meringue that holds it shape. The meringue should have soft peaks (not stiff peaks) so when you lift the whisk out of it, the peaks just hold their shape and wobble gently on the whisk.

Note: I opt for this French meringue method purely because it is quickest. Some recipes call for the egg whites to be aged but I just use the eggs that are to hand but at room temperature. If you take the meringue to the firm/stiff peak stage, you risk hollow macarons.
(4) Add the dry almond/icing sugar mixture to the meringue. Stir together gently, patting down the meringue into the dry mixture against the side of the bowl as you go, stopping as soon as most of dry mixture is no longer visible. The mixture will feel a little stiff at this point.
Note: I use a rubber spatula for this which works well. The key here is not to beat it in, but also not to fold it too lightly as if making a soufflé! You want to try to knock a lot of the air out of the mixture, which does seem counter-intuitive after making up the meringues; unfortunately too much air in the finished mixture can result in the macaron rising too much and then cracking or forming hollows. By gently patting the mixture against the side of the bowl as you mix, enough of the air will be knocked out.
(5) Continue to fold and pat the mixture together gently until the mixture starts to loosen up. This macaronage stage is a critical part of the process and you don’t want to over-loosen the mixture so that it feels too runny and at all liquid. To test it is ready, lift up the spatula and let some of the mixture on the spatula drops back into the bowl, leaving a trail or ribbon on the surface. If you lightly shake the bowl, this trail should gently merge back into the mixture of its own accord, disappearing within about 30 seconds. Gently rap the base of bowl flat against the work surface a couple of times to help pop any larger air bubbles that might be still in there.
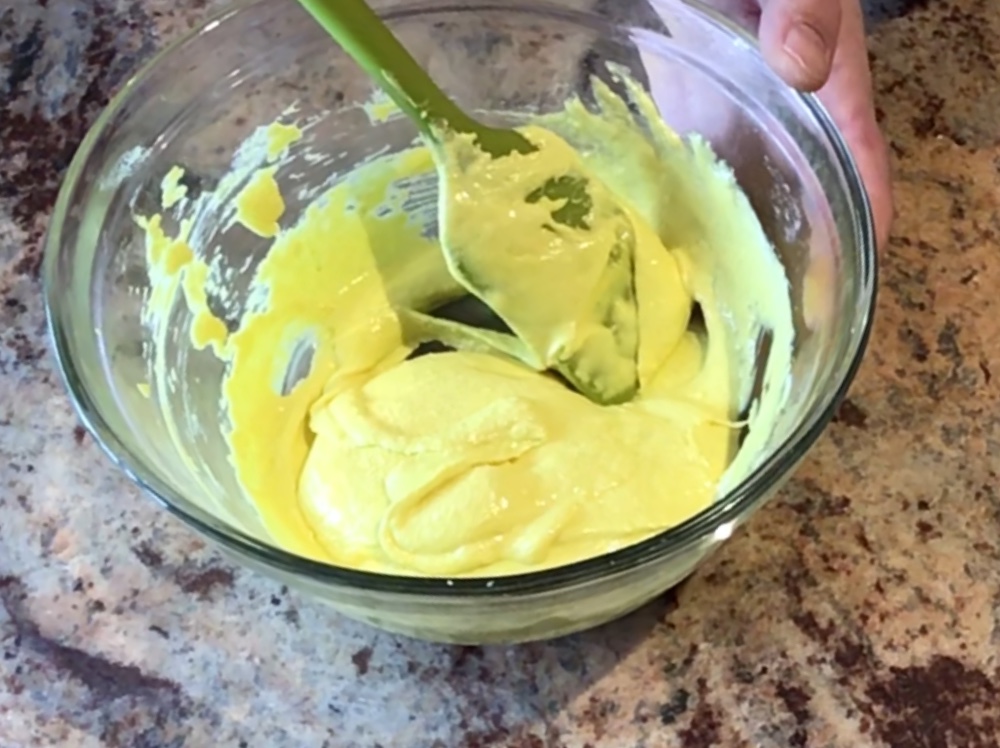
Notes: This stage, the macaronage stage, is arguably the most important part of the whole macaron-making process and, at the risk of sounding melodramatic, the key to success lies with this stage.
It is certainly better to under-mix rather than over-mix here and the first few times of making macarons it can be hard to know precisely when you are just there or if you have gone over. Caution is very much the key here! While folding, the mixture changes from feeling fairly stiff to then feeling a little looser within a few folds. Visually, the mixture will change from being slightly grainy-looking to looking smoother and silkier as the natural oils in the nuts get worked.
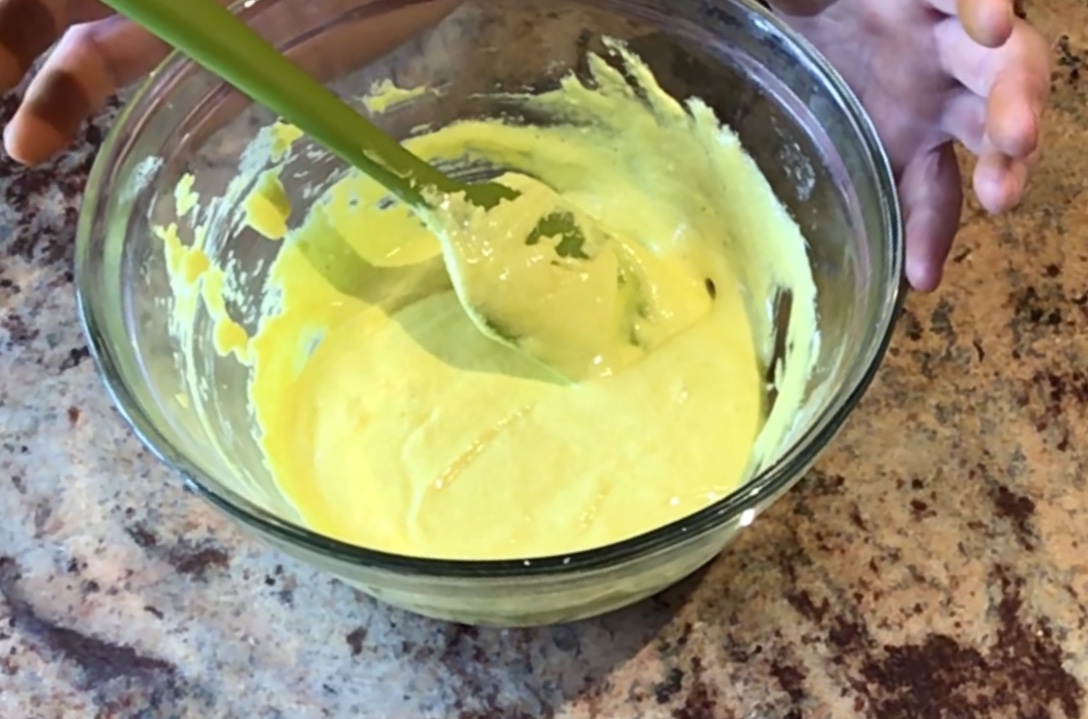
It is at this looser stage that after every two subsequent folds (a bit precise but it does prevent over-mixing!) I lift the spatula a few inches above the main mix and judge how easily the mixture on the spatula falls back into the bowl. Initially it might just plop very slowly back into the bowl, and sit there doing very little on the top of the main mixture…at this stage it is not ready. So two more folds, then try again….
Very soon it WILL get to the stage that when it drops back onto the main mixture it will disappear back into it, within about 30 seconds. If you over-fold, the mixture will become very runny and the macarons will spread like mad when you pipe them and will probably collide into each other giving a very colourful, but not very helpful meringuey-mess.
Over-folding is also a common cause of cracked macarons, and even if they do not crack, they are less likely to have those highly sought-after feet.
(6) Put flat silicon mats or a silicon-coated greaseproof paper onto solid baking trays. Pipe the required size of macarons onto the paper. See Top Tip 5 above for an easy way to get uniform macarons.
It is also a good idea to pipe a few onto smaller trays as testers. See Top Tip 7 above.
You can sprinkle things such as desiccated coconut, crushed coffee beans or tiny freeze-dried fruit pieces over the surface if you wish, but don’t pile too much on there.
Note: I have rarely had great results with special macaron sheets with ridges/grooves but flat silicon mats or silicon greaseproof are my preference.
(7) Lift each baking sheet a few inches off the work surface and drop this flat onto the work surface half a dozen times or so, keeping the tin as flat as possible as you drop it!
Note: This will get rid of any more of the larger air bubbles that will invariably still be in the macarons. Large air bubbles can cause the macaron to crack in the oven or most likely result in hollow macarons. Normally half a dozen drops does the trick. It is natural for the piped macarons to spread out a little. You may well see air bubbles form on the surface – some will automatically burst and then the tops become smooth but if there are visible air bubbles that form and do not burst, you can prick them gently with a cocktail stick or the tip of a sharp knife.
(8) Leave the macarons to rest at room temperature for about an hour or so, until a very thin skin forms on the surface and the surface does not stick to your finger. During this time preheat the oven to 140C (fan) and do a few testers if you need to ascertain the temperature that works best for your oven (see Top Tip 7 above).
Notes: this resting period is another very important part of the process. Whenever I have rested the mixture, I always get nice feet to each macaron whereas if I have baked some without them having rested, the feet do not always form.
After about 45 minutes of resting, gently touch one of the macarons: if your finger sticks to it then a skin has not formed enough so leave it for another 15 mins or so and repeat until it no longer sticks.
This is where your tester macarons come into their own! Each oven is different so it is important to get to know your oven as to the positioning of the shelves and the like. For my main oven, 140C is perfect although in other ovens I have used I have gone as low as 130C (fan). In my oven the macarons bake best about half-way and below. I never put more than two shelves of macarons in the oven at a time, and certainly not too closely on top of each other; too many trays can create a build-up of steam in the oven which, in turn, is another thing sent from somewhere wicked to destroy all the loving attention to detail already put into the macarons by this stage!
(9) Bake the macarons for about 12-14 minutes, depending on the size, turning the trays around after 6 minutes. Remove from the oven and leave to cool on the trays before removing carefully.
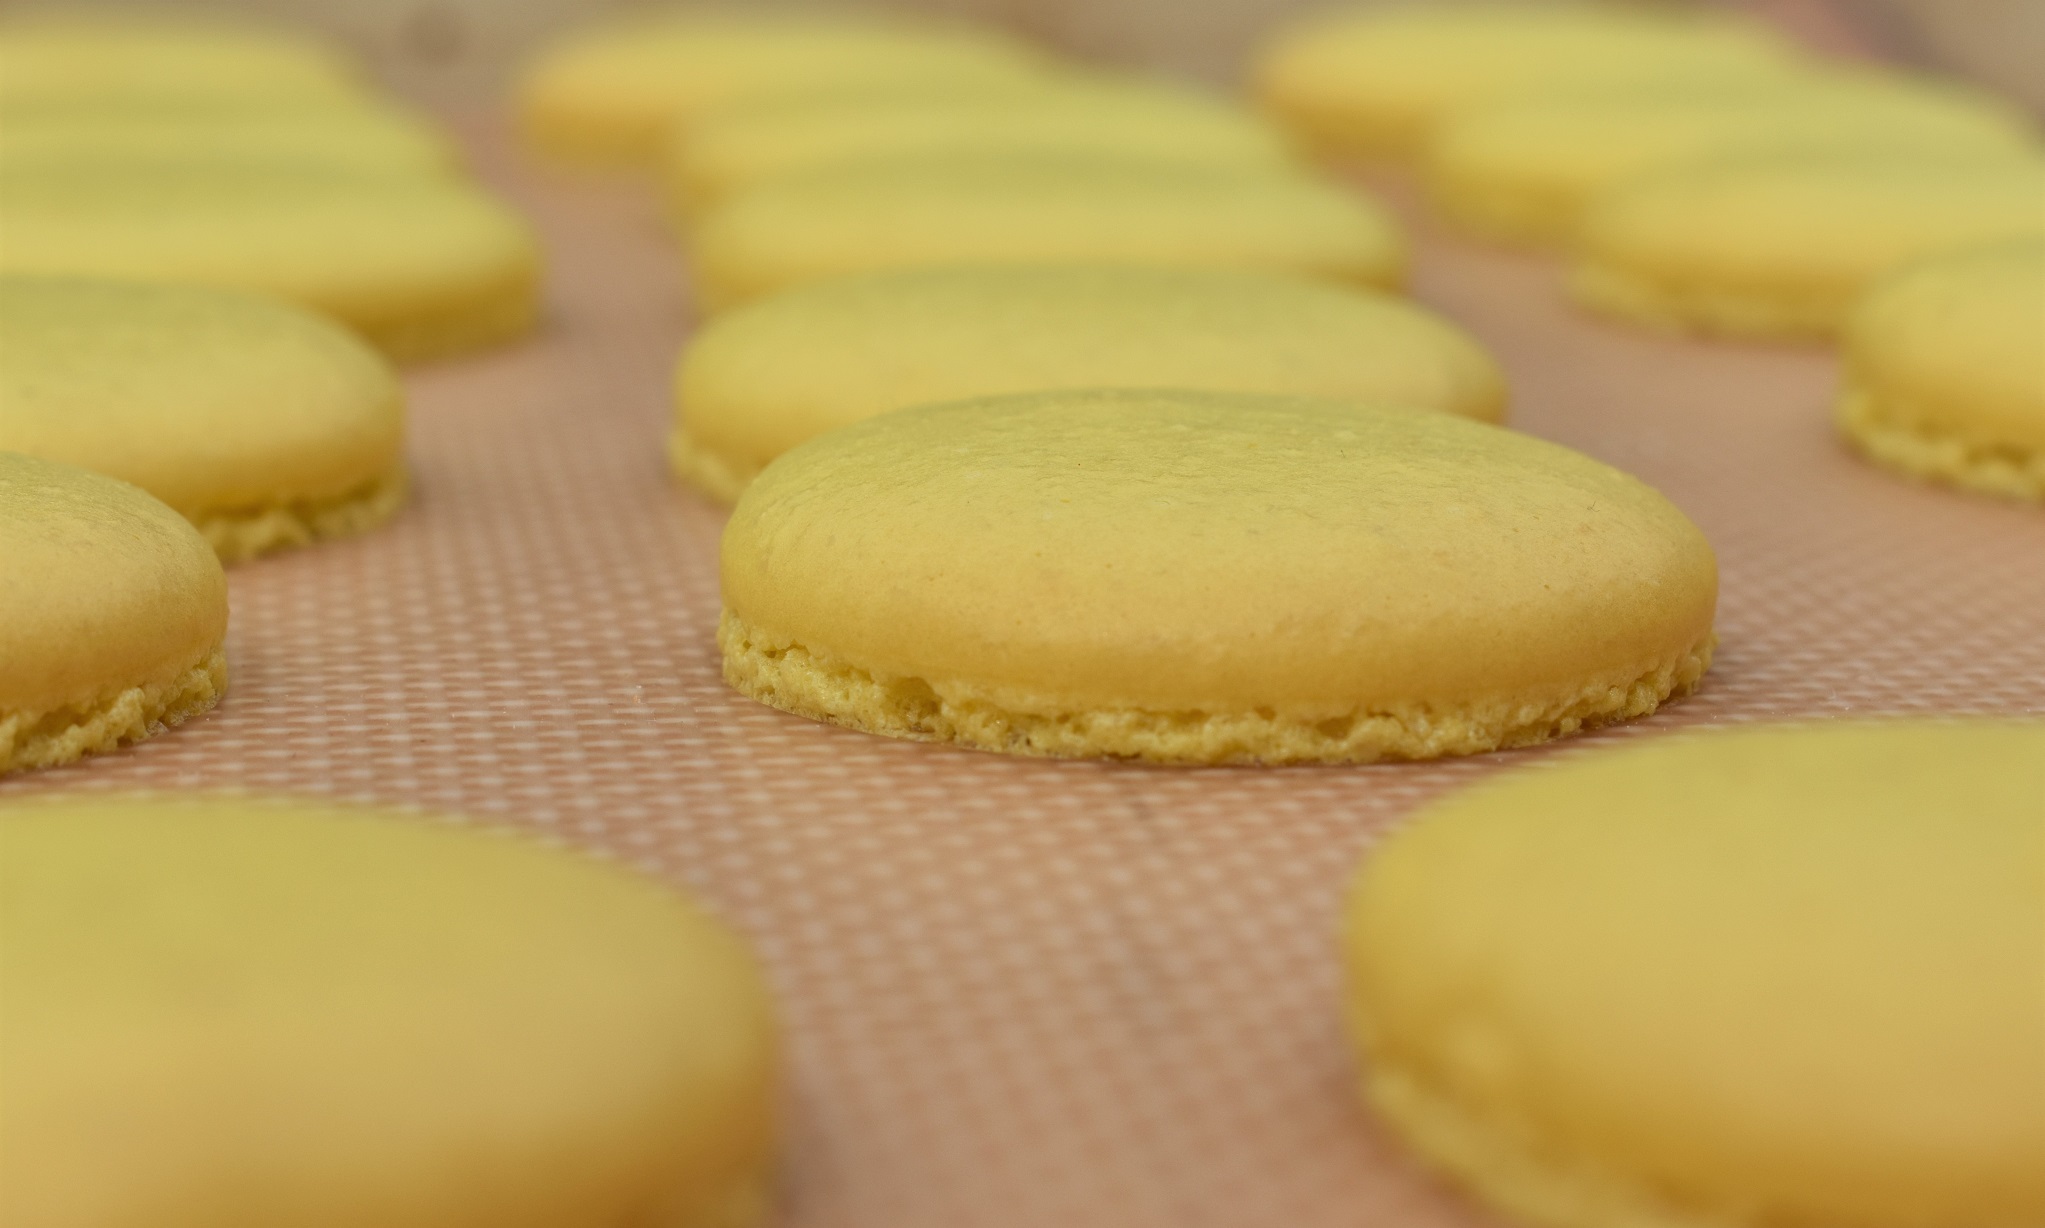
Notes: with 1 inch macarons I find that 12-14 minutes in total is about right but on occasion I have had to bake them for several minutes longer. To test, I gently wiggle the top of one of the macarons with my fingers. If I feel the macaron wobble at the feet I bake for another couple of minutes. I am very strict with myself now in leaving the macarons to cool on the trays, which helps the base crust form fully: this makes it easier to remove the macarons.
(10) For the fruit filling, mix the ingredients together and leave in the fridge until the mixture has set to piping consistency. You can add more chocolate if you want a firmer set. Spoon the filling over half of the macaron shells and sandwich together gently with the other half.

Note: the filling can be changed in any number of ways by using any fruit purée or even just lime or lemon juice. Sometimes I add a little more fruit purée or fruit powder. Buttercream also makes a great filling.
(11) Put the filled macarons in an airtight container and refrigerate overnight before eating. This matures the macarons, so the texture becomes perfect. Alternatively, you can freeze them in an airtight container.
Note: Maturing the macarons ie) leaving them in the fridge for about day, helps enormously with the texture: the shell will soften somewhat and give the right level of chew, while retaining a nice crispness. They do freeze beautifully: simply stack them carefully in an airtight container between sheets of greaseproof and remove what you want a couple of hours before you want to eat them.
A few FAQs
- Italian meringue, Swiss meringue or French meringue?
Each works well but I now go for French meringue every time as it is quicker and I have never had problems with it. I whisk the meringue for about 2 minutes with an electric hand mixer until it is thick and silky, and soft peaks have formed.
- Which type of colouring is best?
Ideally go for powder colouring, but gel-based is a good alternative. Avoid water-based colours as you need to minimise moisture in the mixture.
- Do you need to use aged egg whites?
Ideally use eggs that are closer to their use by date, but I tend to use whatever eggs I have – but they need to get to room temperature. And frozen egg whites work perfectly if left to defrost and come to room temperature.
- Do you need to add cream of tartar?
No – I’ve noticed very little difference when either using it or omitting it
- How much mixing is needed?
Just enough mixing (patting the ingredients together with a little stirring and folding) to bring the dry ingredients and the meringue together until the mixture loosens up a little. This should not be over-done: see notes under stages 4 & 5 of the recipe above for fuller information. - Greaseproof, silicon mats or special macaron mats?
I have a penchant for the flat silicon mats which work like a dream, giving better, more well-defined feet than greaseproof. However, silicon-coated greaseproof is excellent. I would avoid macaron sheets with the holes stamped in/on them as they rarely give the correct feet and can be prone to sticking.
- Why rap the trays with the piped macarons on the work counter?
This gets rids of some larger air bubbles so that the macaron will not have an air pocket inside when you bite into them.
- Jamming a wooden spoon in the oven door while baking the macarons or keeping the oven door closed? Many recipes recommend this approach – the aim being to get rid of any build-up of steam (an enemy of the macaron!). However, my door remains shut apart from to turn the trays around about 6 minutes into baking, at which stage any steam in the oven escapes.
- How to I know what temperature works best for me?
Ovens vary so to find out what is ideal for your oven, including positioning within the oven, do a few testers with a batch of macarons you have made up. See Top Tip 7 above.
- Why are my macarons hollow?
This can be because of over-whisking the meringue at the start. Only whisk until you get soft, not very firm/stiff peaks. And make sure you pat the meringue into the almond mixture to push out some of the air.
- Why don’t my macarons have feet?
This could be because of several reasons, but most likely one or other of over-mixing or not resting the piped mixture long enough. See the recipe notes above.
- Why have my macarons cracked?
This could also be because of several reasons, but the most likely is over-mixing or baking at too high a temperature. See the notes in the recipe about the oven temperature., including the use of testers.

Although I swear by my approach above, that is not to say that other recipes are wrong or are to be avoided – they are not! But I now stick to this recipe purely as a “it’s fool-proof for me” recipe. In fact, I almost dare not look at a different macaron recipes now as I don’t want to be swayed from what I know works for me! But I do look, of course, and I very much enjoy the ideas that are out there…and I still often get the “ahhhh now that’s a good idea” moment!
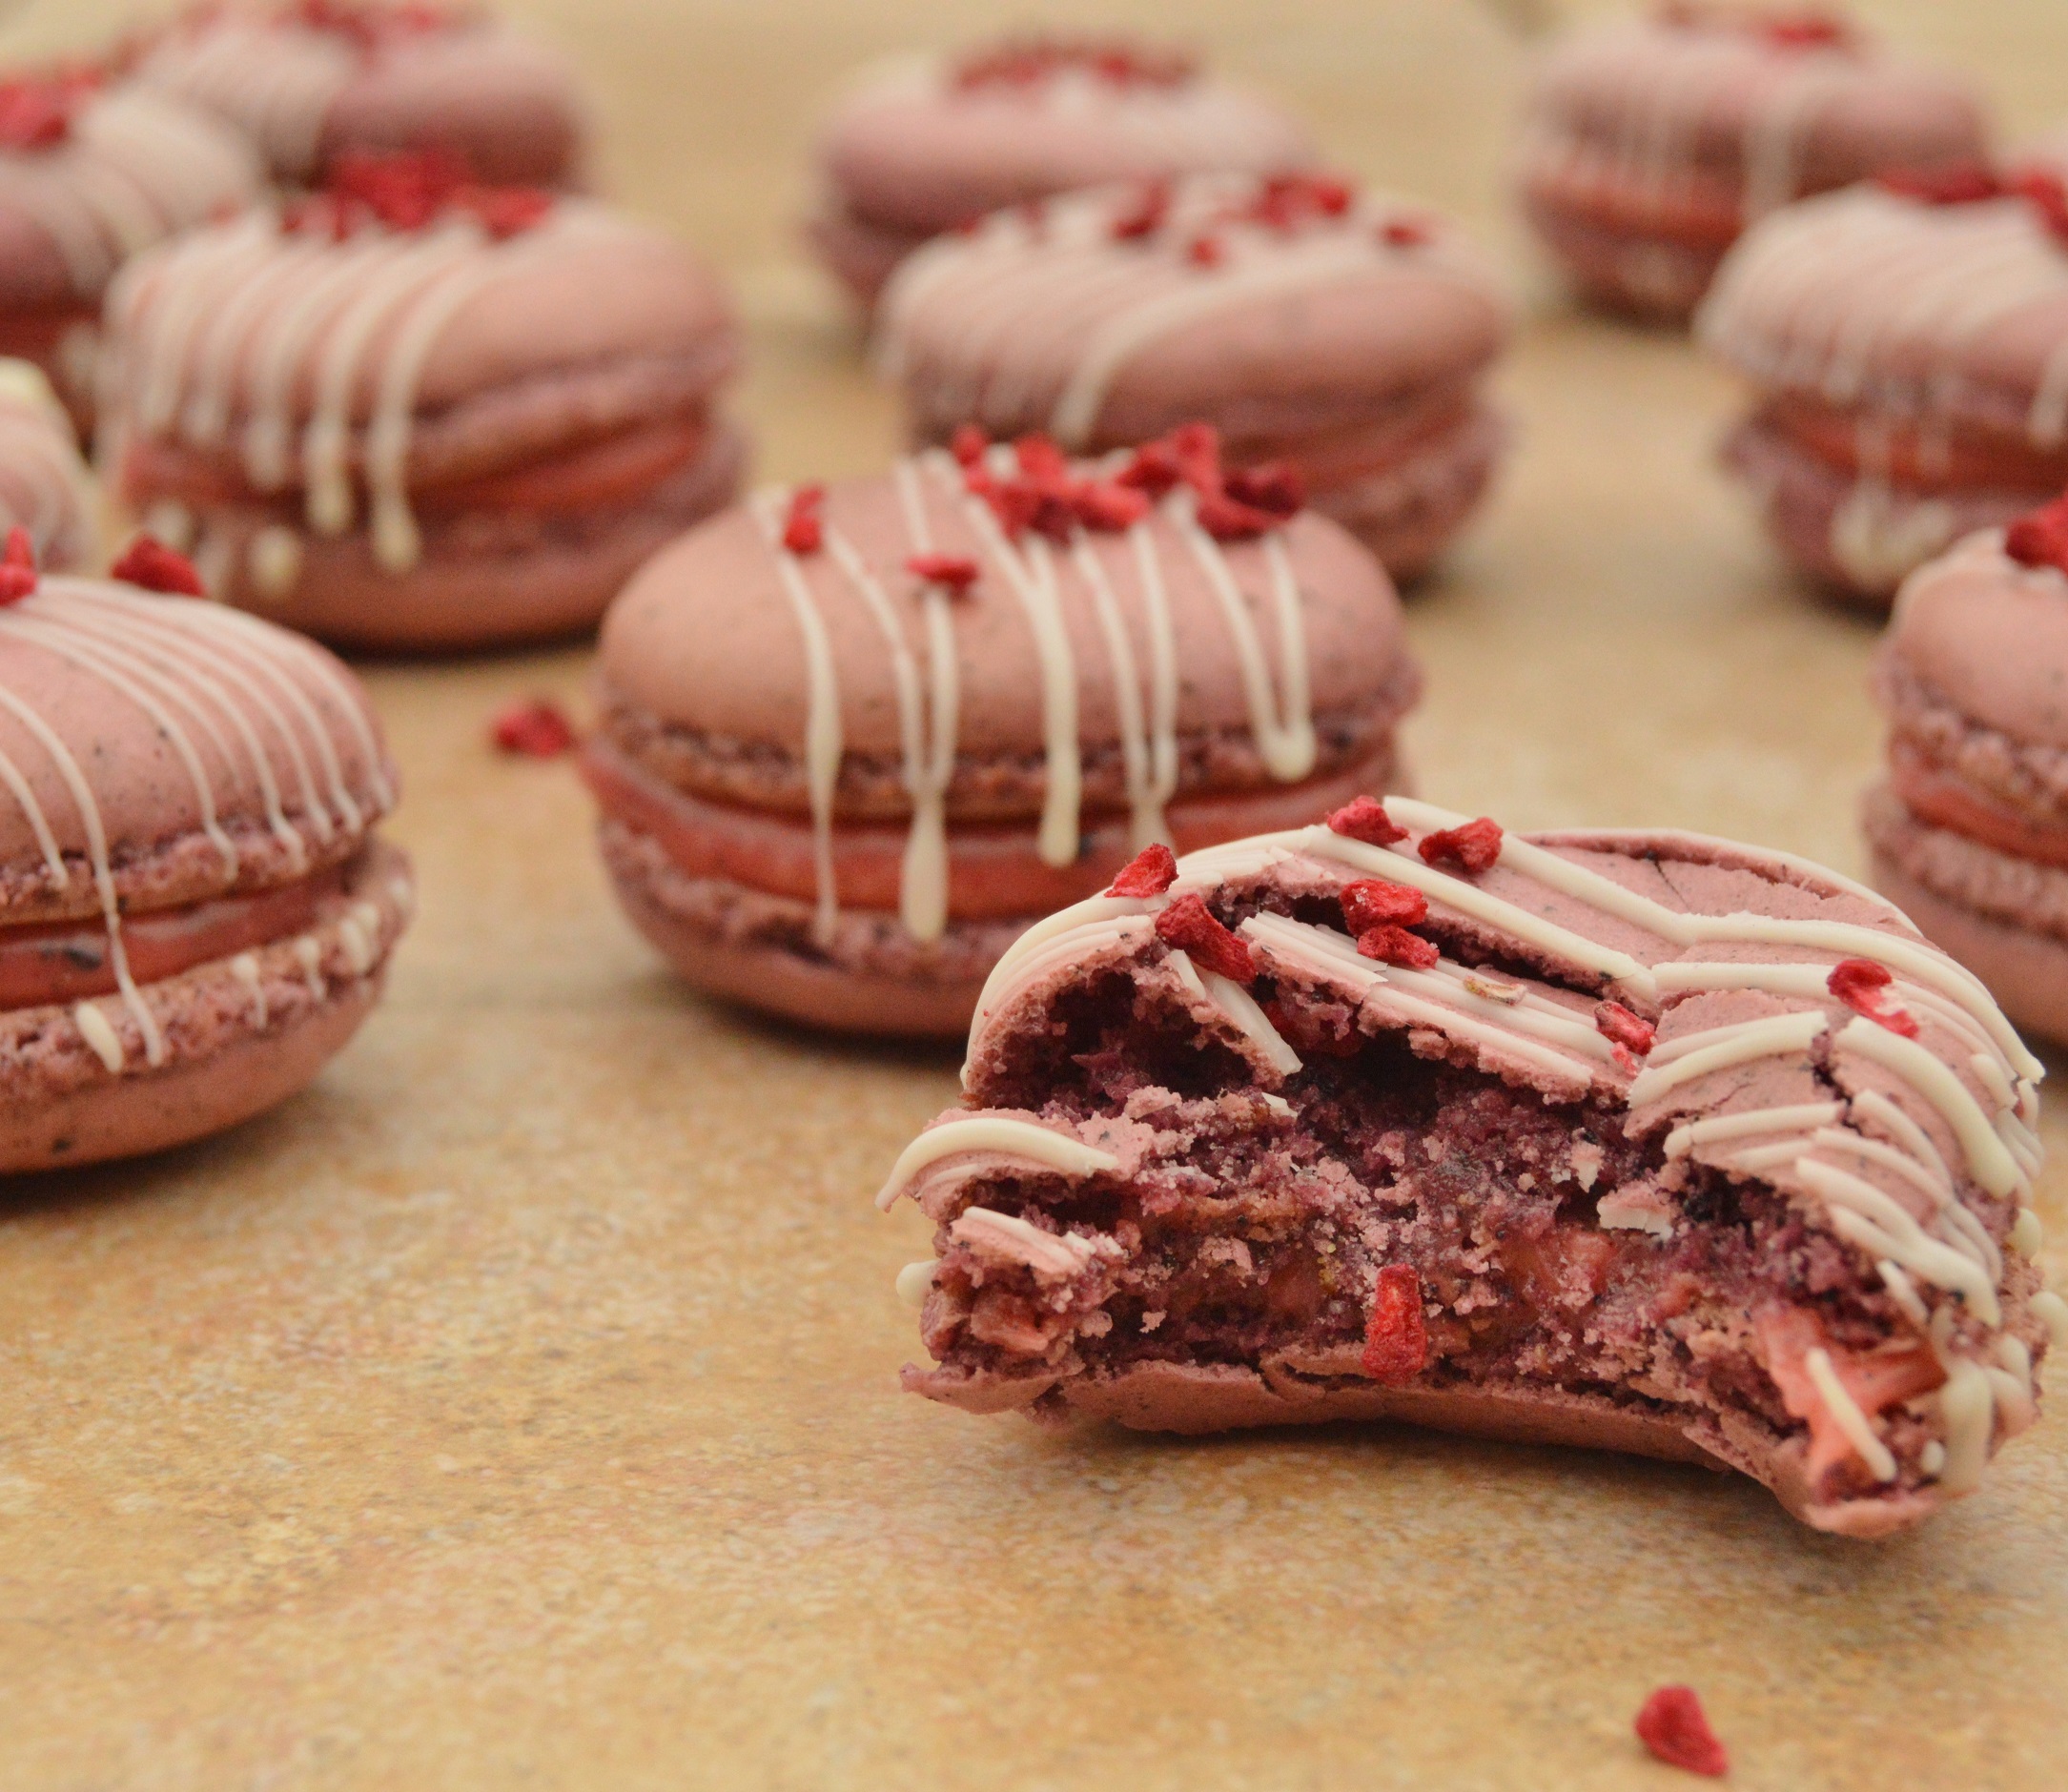
Some of my favourite flavours
There is an almost unlimited array of macaron flavours, including savoury varieties, but some of my favourites are below.
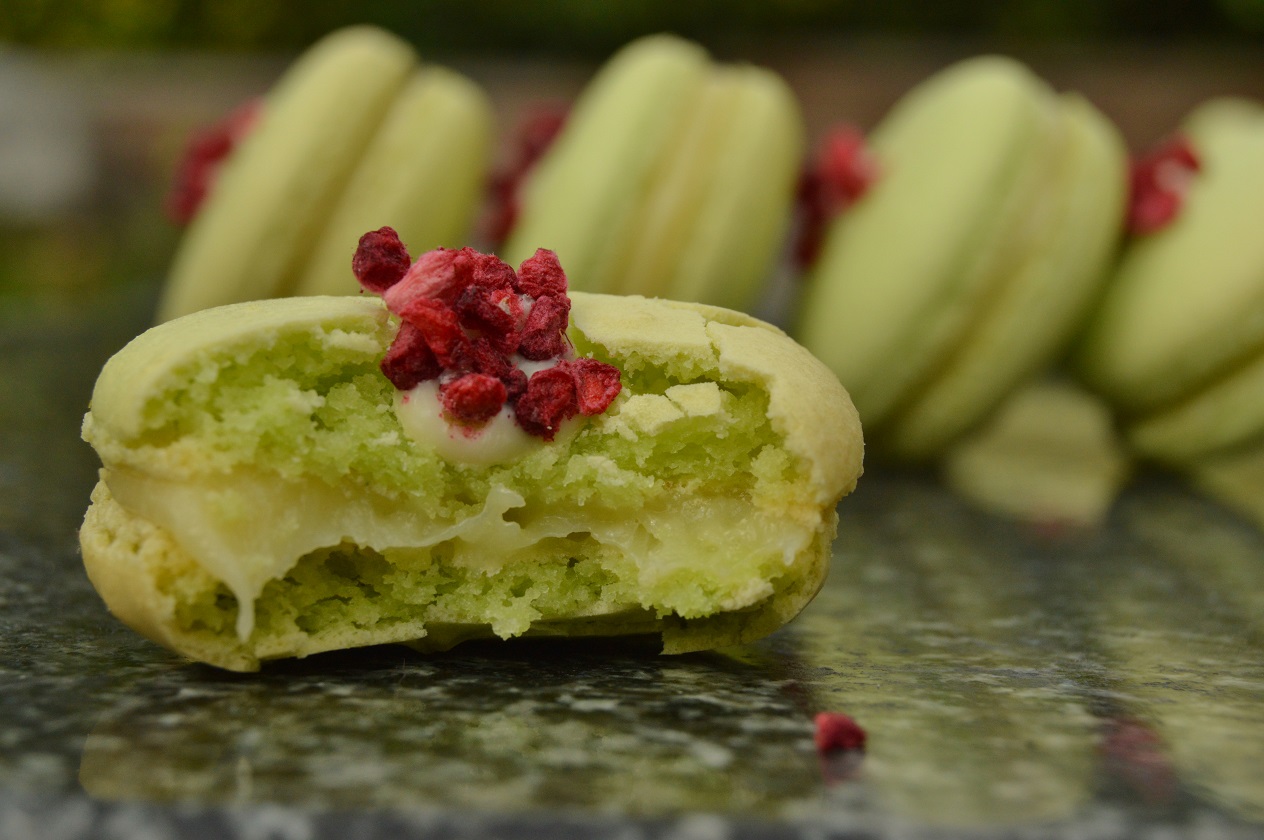
blueberry and raspberry macarons

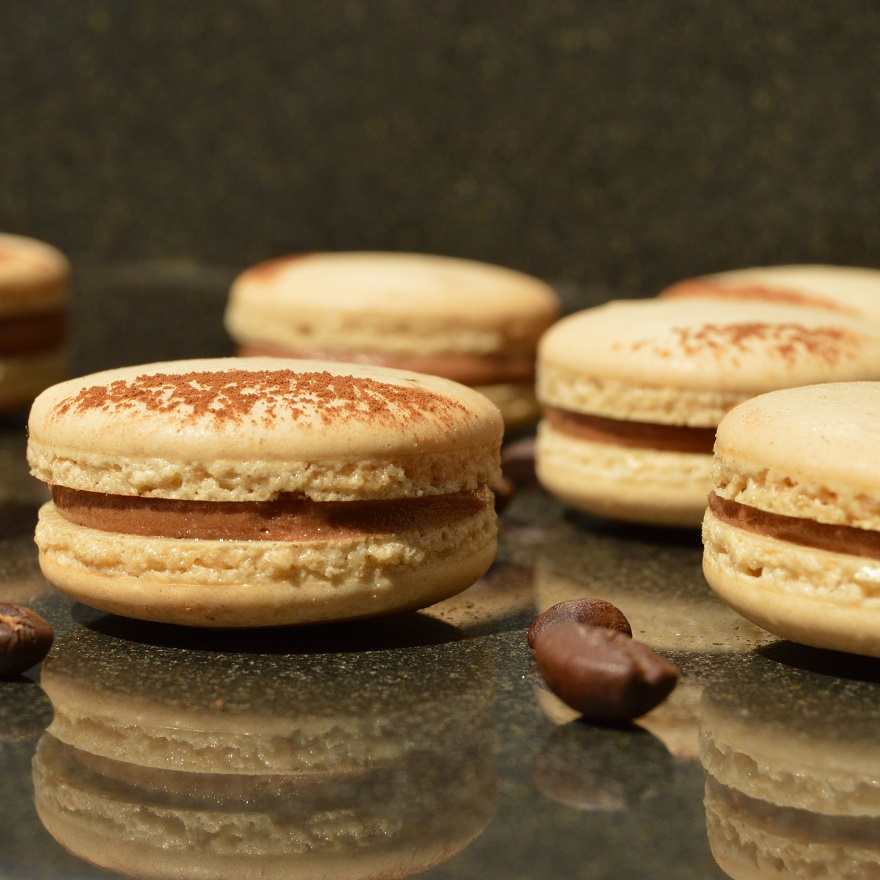
salted caramel and dark chocolate macarons


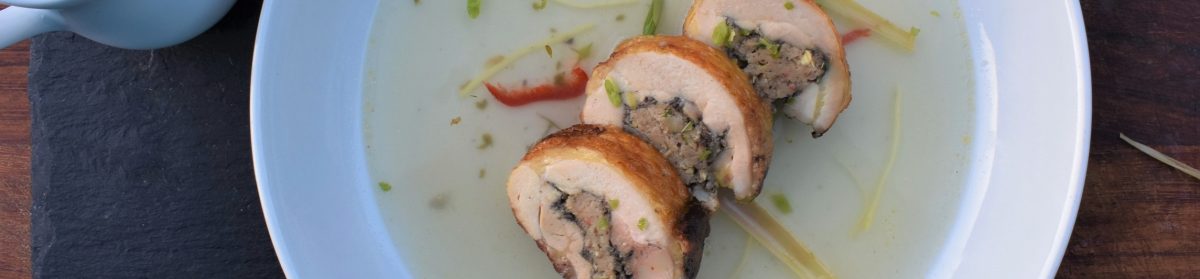
Savoury macarons

Don’t get put off by savoury macarons. The sweet/savoury contrast between the shells and the fillings can make for an amazing combination. Especially when the filling is intensely savoury, so that it balances with the shells.

Whenever I have made my smoked salmon and horseradish macarons they have vanished quickly. The recipe for these macarons is here.
Alternatively, try my roasted beetroot and goats cheese filling, enhanced with a little kick of horseradish. Or my Parma ham, fig and ricotta filling. Details of these are in my savoury macarons post.
Storage
The filled macarons will keep well in the fridge in an airtight container. They also freeze beautifully for a couple of months or so: simply take out as many as you want about an hour before you want them and put them in the fridge.
If freezing, line an airtight container with cling film, pop in the macarons without packing them in too tightly, cover with a bit of cling film and seal the container. The cling film helps prevent excess moisture getting to the macarons so that they remain slightly crisp and chewy.

Beautiful! Definitely going to give these a try!
LikeLike
yes do – they are great fun to make and even more fun to eat. Enjoy.
LikeLike
You are the best teacher. Your information and tips that you share are invaluable. They are incredibly practical and down to earth. Thankyou!!
LikeLike
thank you so much.
LikeLike
They look fabulous….love the macaroon!!!!
LikeLike
thank you
LikeLike
nice consistent shape
LikeLike
Reblogged this on bakingfanatic.
LikeLike
dreamy macarons. I will try your approach in the hope that it works for me as I have had little success with them before as they crack horribly or lack their feet.
LikeLike
Thank you Kate. Yes, do give them another go – maybe doing half a batch. And enjoy making then 🙂
LikeLike
Hi Philip – beautiful macarons!
1. For the fruit puree, I only have frozen fruit. Would I puree the fruit in a blender and then strain?
2. For your salted caramel bittersweet chocolate macarons, I read you didn’t use any food coloring, but the shells have a light tint of color to them?
3. For the Tiramisu macaron filling, I don’t have coffee essence, but I do have espresso powder? I’ll be using unsalted butter instead of the roasted coffee
Thanks a lot!
LikeLike
thank you, Ann – and for your questions.
1: yes that would be the easiest way
2: I used a mixture of walnuts and almonds, with the walnuts giving that tint: about 1/3 walnuts to 2/3 almonds
3: absolutely yes to espresso powder: that works a treat – and normal unsalted butter will work well.
I hope you enjoy making and eating them
LikeLike
Great article!!! I screwed up many times trying to double my macaron recipes to make larger batches. But once i tried your method based on amount of egg whites they worked out perfectly. Thanks for sharing! 😉
LikeLike
thank you – it is a pleasure. I know how frustrating these blighters can be! So pleased they work perfectly for you
LikeLike
Thanks for putting these instructions and tips on your site, I always use them and am working towards perfecting my macarons.
LikeLike
This is my 4th recipe tried this weekend and other then a few that had cracks (I think the second tray rested too long) they look great. My mats have never yielded me a full tray of god macs until this morning. I only tried one Mac out of the oven and although not without a few hollows They are much better then my other attempts. I even took out 5gms of af and subbed with cherry kool-aid. I’m hoping my next attempt using this recipe with continue to give me the same results. Thank you.
LikeLike
HI Terry – I am pleased they worked out well for you. They can be very strange things at times but there’s such a lovely feeling when they work. If any are hollow, once filled and left in the fridge overnight to “mature” the hollows should fill up naturally
LikeLike
Hi, just wanted to say thank you so much for these instructions. I was directed to your website from a search for savoury macarons and followed your recipe above.
I’m so amazed that my first ever attempt at macarons have turned out so well – they have feet and everything!! They’re not perfect, I definitely need more practice on the piping (and a better oven!) but I now have 8 useable coronation chicken macarons for the afternoon tea I’m making! 🙂
LikeLike
I need to make a few hundred of these. Can I double the recipe when making the shells?
LikeLike
Yes you certainly can. And if it is easier, they freeze really well once filled
LikeLike
Great. Yes, I’ve frozen with success. Can’t wait to try your pistachio recipe. I’m going to fill them with homemade pistachio crema like the ones I had in Italy.
LikeLiked by 1 person
Oh fabulous. My mouth is watering already
LikeLike
Hi Philip,
I always heard and read that we should beat the meringue till stiff peaks. I’ll try your method, hopefully I won’t get any hallow shells this time!
LikeLike
I hope it all went well
LikeLike